[SIZE=6]Step 1:
[SIZE=5]
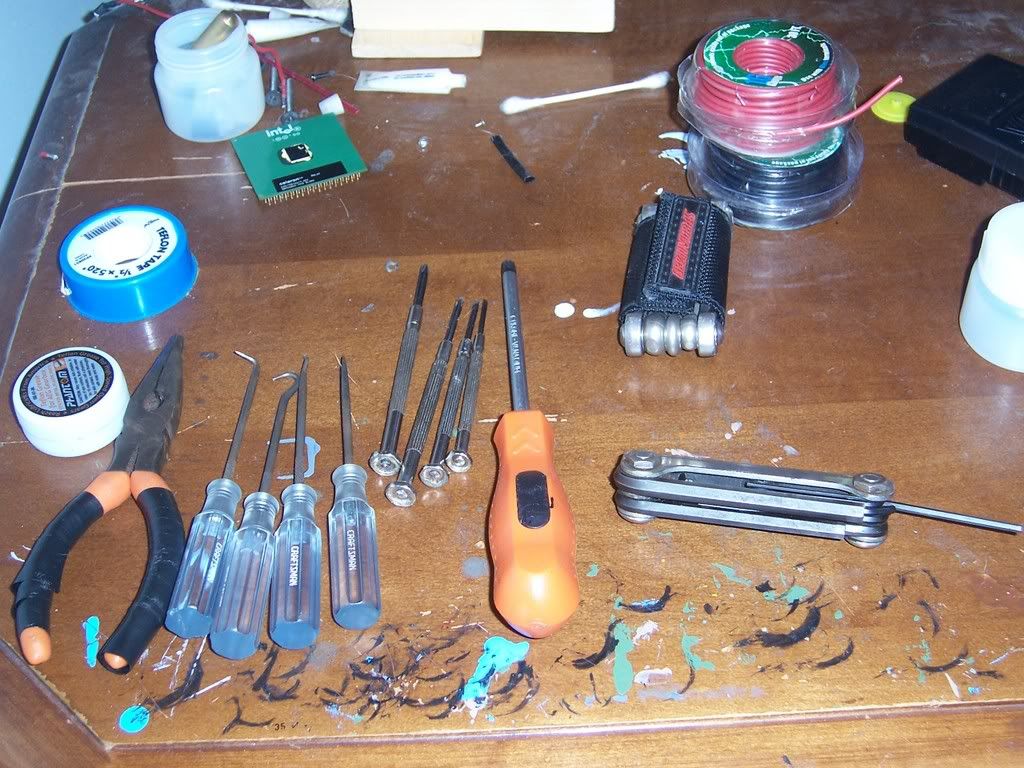
Get all your supplies
*Note Brands may vary slightly* Ref: (GB is Gearbox)
The Supplies I have are as follows:
-2 Screwdrivers(flat and phillips head)
-an allen wrench kit(contains all allen wrenches I use to disassemble my gun)
-Gear Grease(Phantom Grease by Guarder)
-Pick Set By Craftsmen
-Two Containers for Keeping the Screws
-Set of small precision Screwdrivers(used for misc. tasks such as holding the spring guide down while opening GB)
that is all I had for what I was doing today but sometimes I can have extra parts(for installing upgrades that require modification)
[SIZE=6]
Step 2:
[SIZE=5]
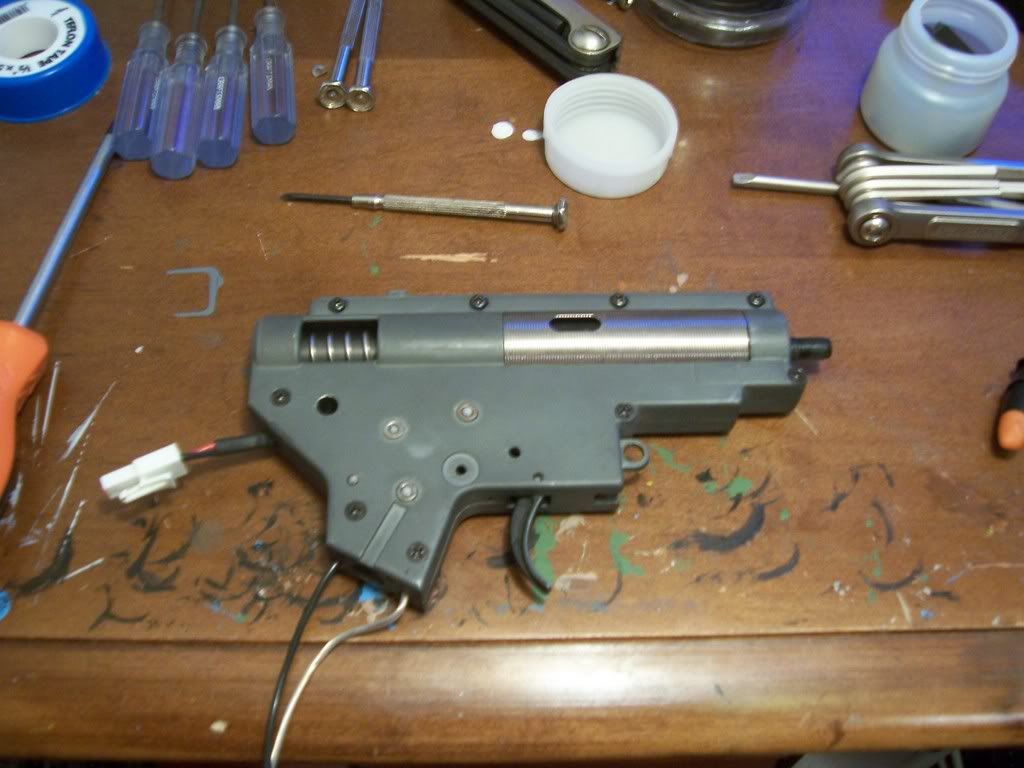
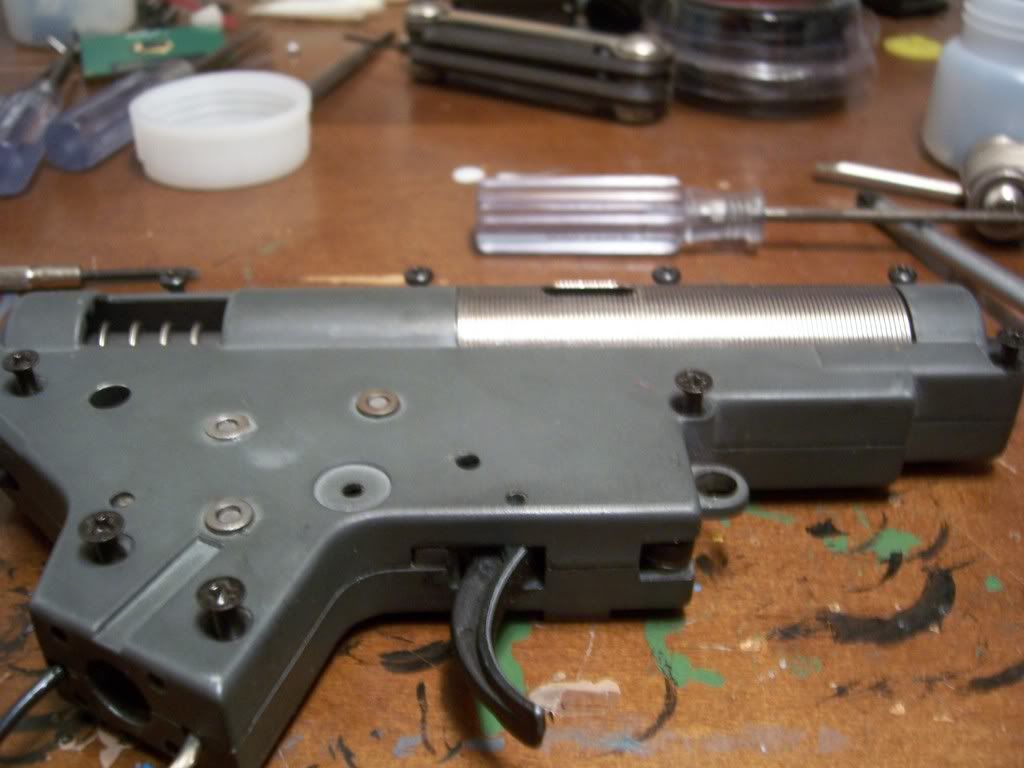
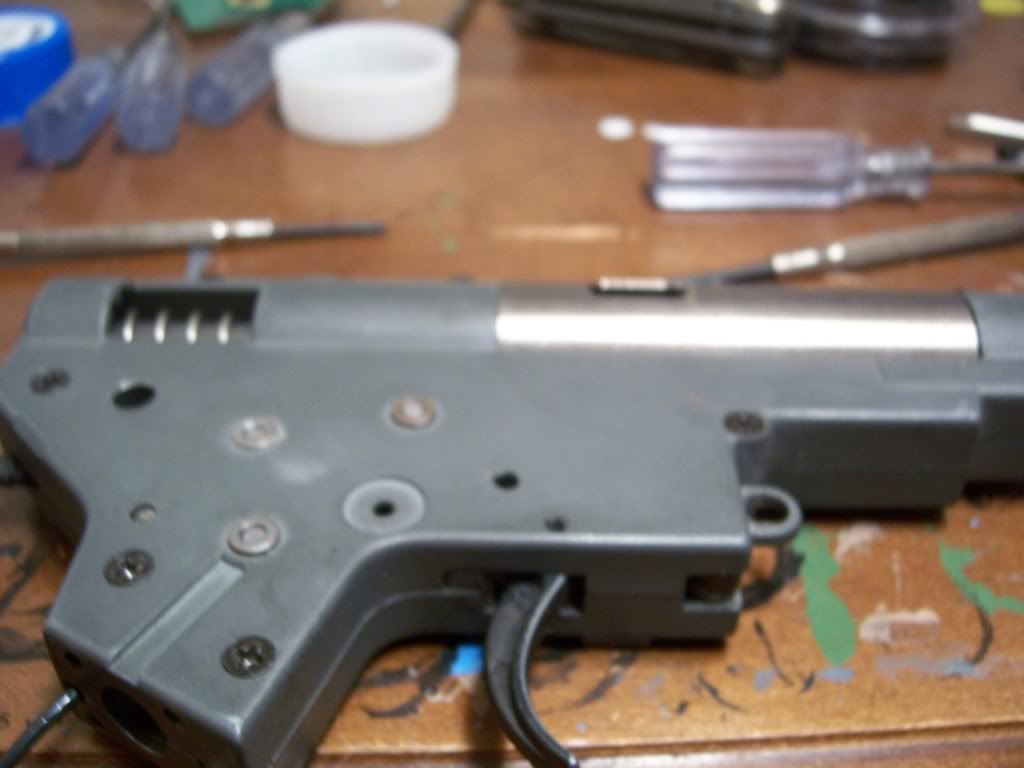
Opening The GB
First take Your Phillips Head Screwdriver and start removing the screws holding in your GB, Personally I prefer to start right below the spring guide and work counter clockwise,
always leaving one screw in until your ready to remove Half of the shell.
[SIZE=6]
Step 3:
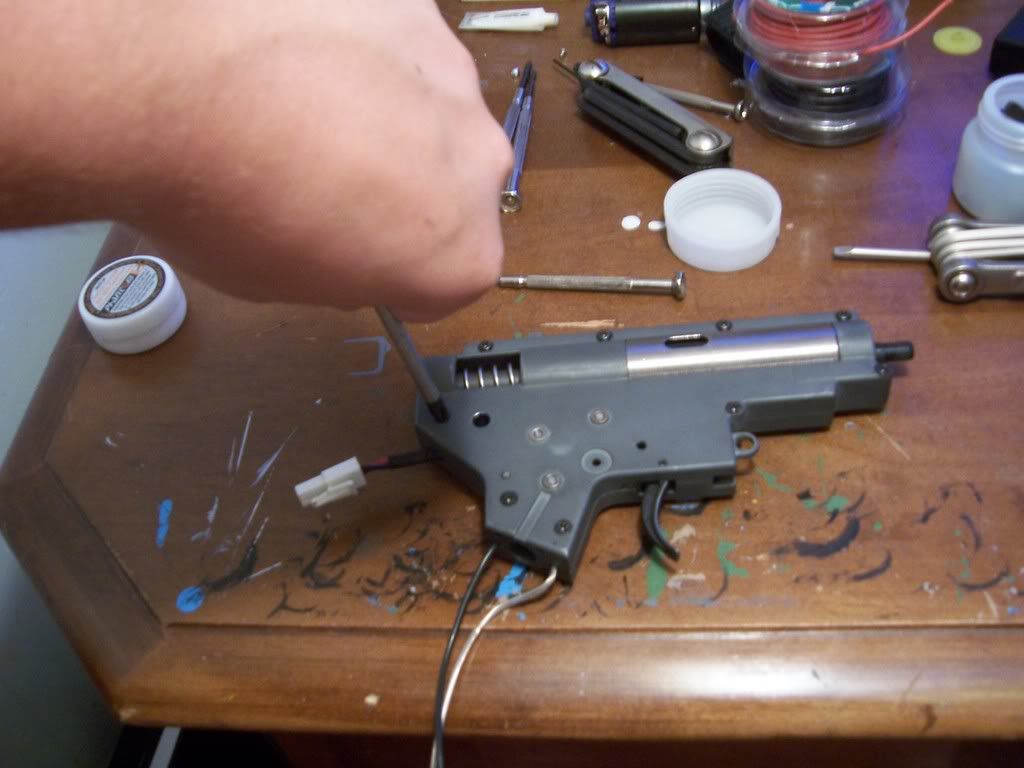
[SIZE=5]Separating the Two Halves
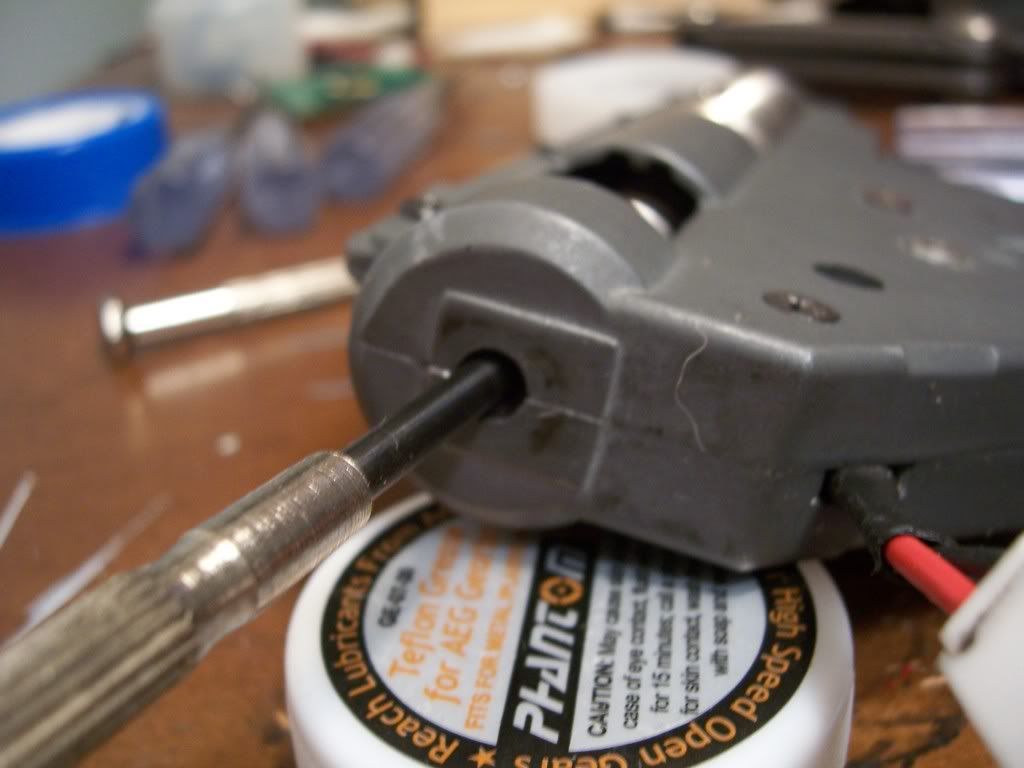
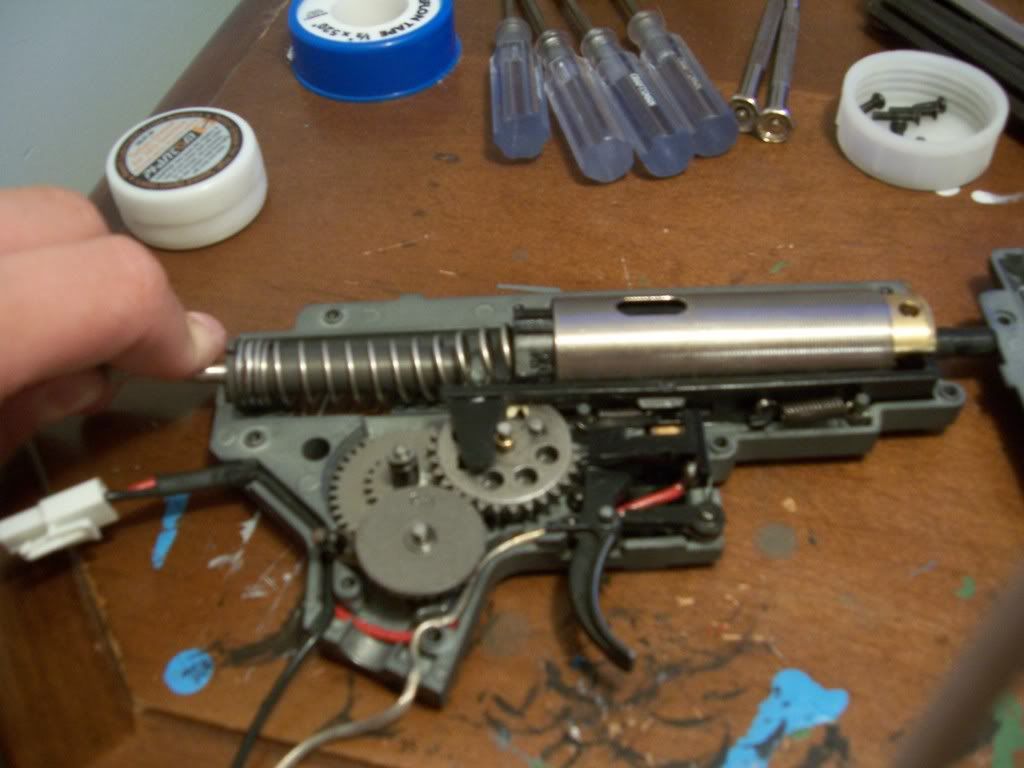
Once you have all the screws out(except one) place your precision Screw Driver into the hole for the Spring Guide like so:
Now
Carefully remove the last screw and gently hold the gearbox down to prevent accidental opening before your ready.
(this is one of those warnings your spring can shoot the spring guide out if not held in) once you have that screw out press the front end of the screwdriver down and you will see the front end of the spring guide start slanting down.( sorry my camera couldn't pick up a picture of the angle)
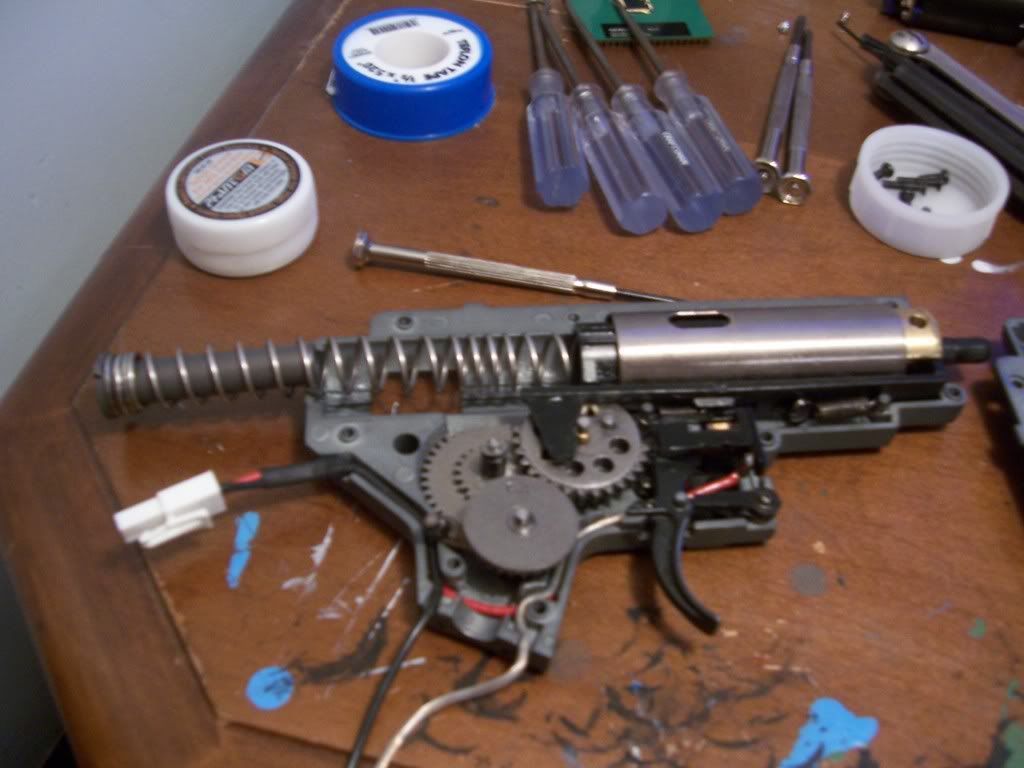
And when your ready slowly separate the two halves keeping that spring guide held down, when you get it opened it should look like this(sorry this ones a little blurry):
Now
slowly lift and remove the spring and spring guide like so:
[SIZE=6]
Step 3
[SIZE=5]Removing the Guts of your Gearbox
Once you have your gearbox opened and the spring removed you should really have to worry about anything "Shooting" out at you. but there are three more spring to watch out for:
1. Anti Reversal Latch:
2.Tappet Plate:
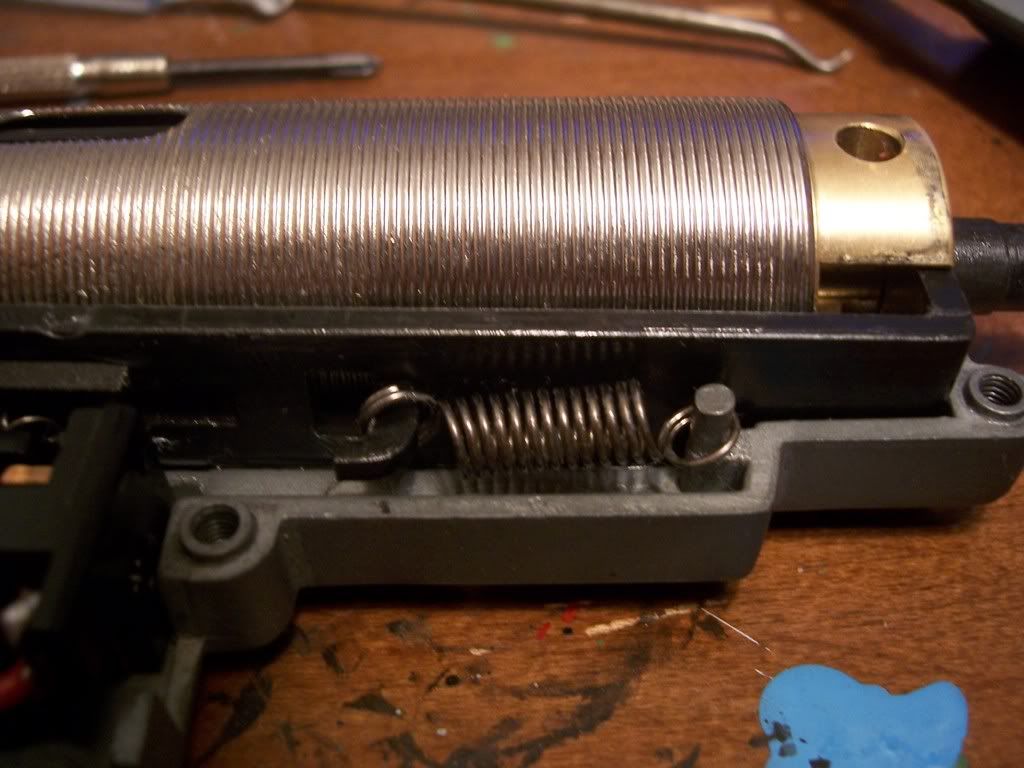
3. trigger Mechanism

I don't have a picture of it as of now)
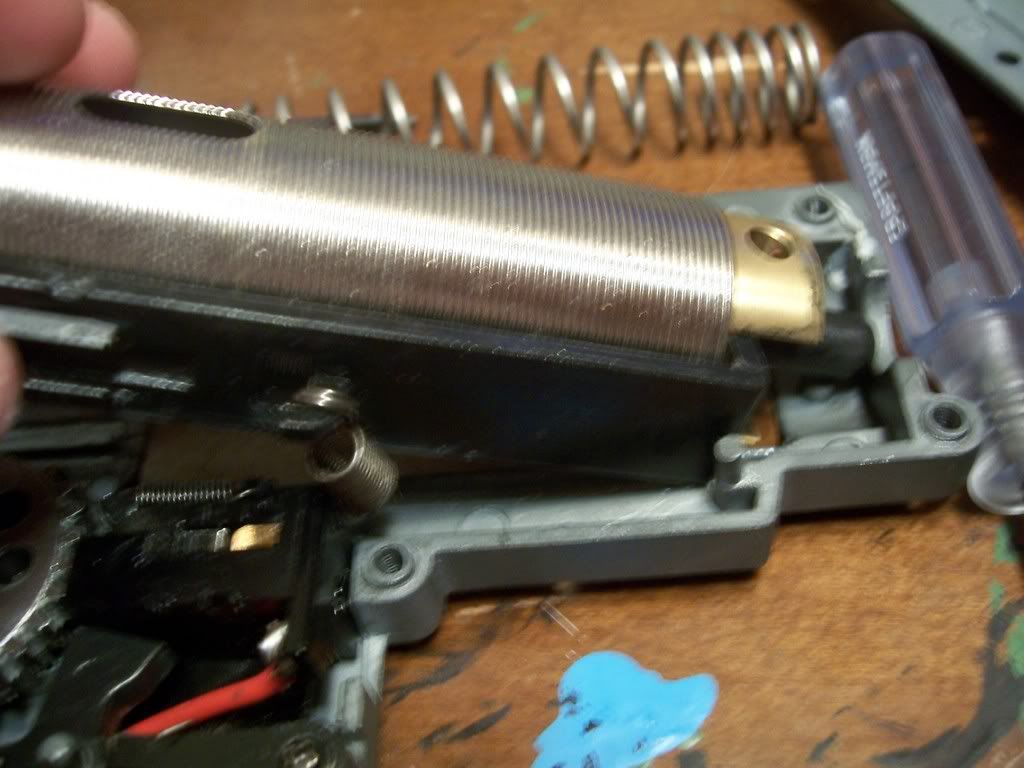
Now You can continue to remove the Cylinder Set.
First remove the spring gently and put it into a safe place where you wont lose it, then continue to remove the whole cylinder(this is after you slipped out the piston and spring with spring guide):
[SIZE=6]
Step 4
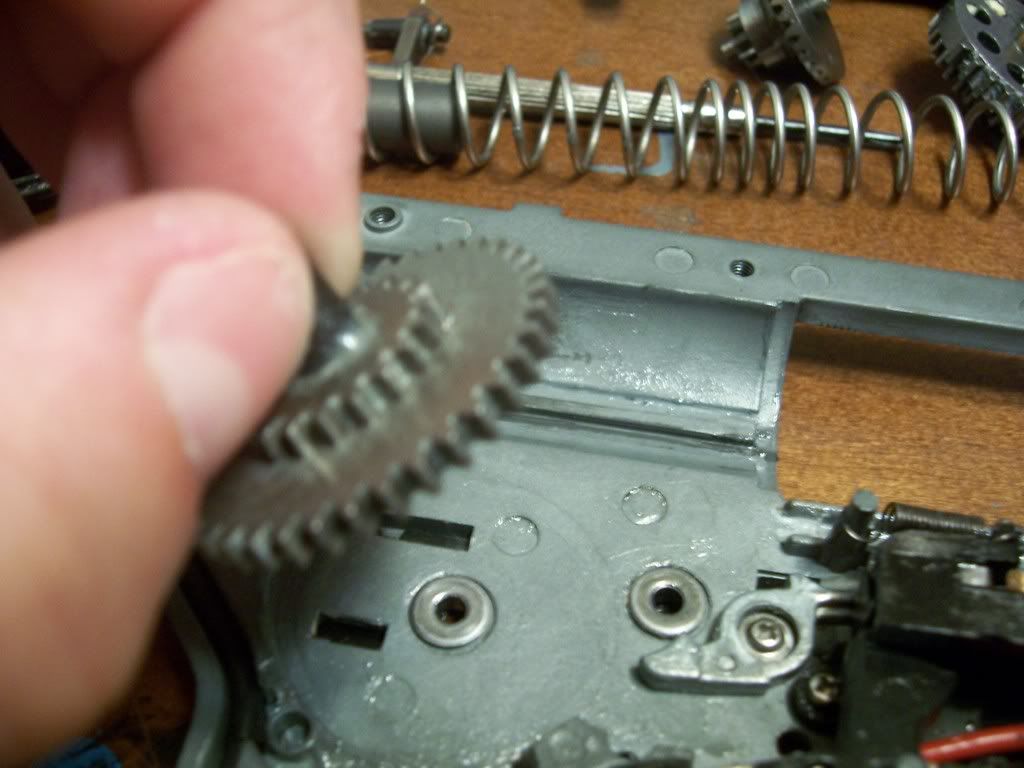
[SIZE=5]Remove the gears
Once out you can remove your gears(make sure you don't lose any shims they are crucial for proper function of your gun):
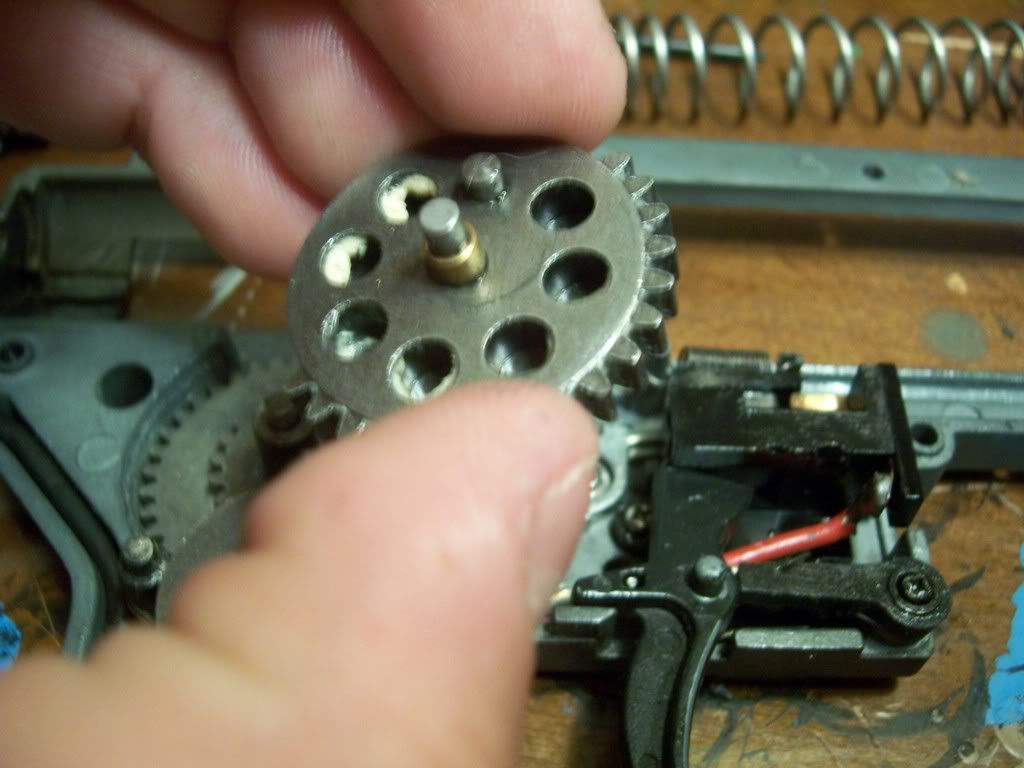
-First, remove the Sector Gear:
-Second Remove the Bevel Gear
(watch out for the anti reversal latch and Spring Put those in a safe place):
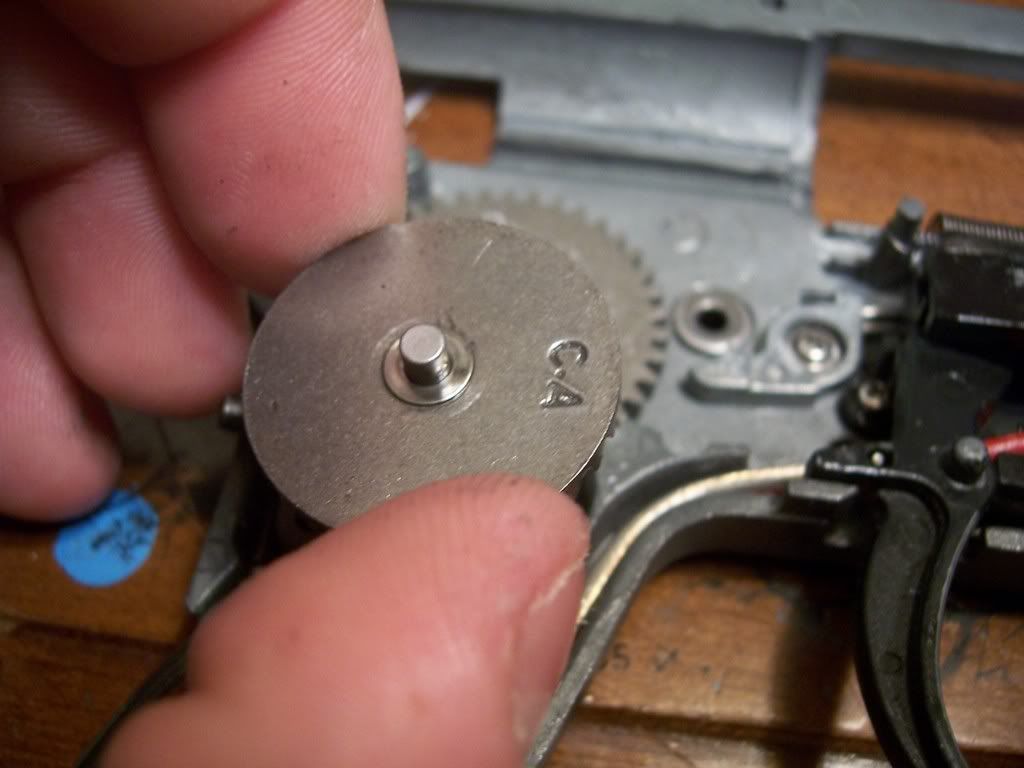
-Anti Reversal Latch and Spring:
Third remover the Spur gear, and like before watch for shims.
Now Reassemble:
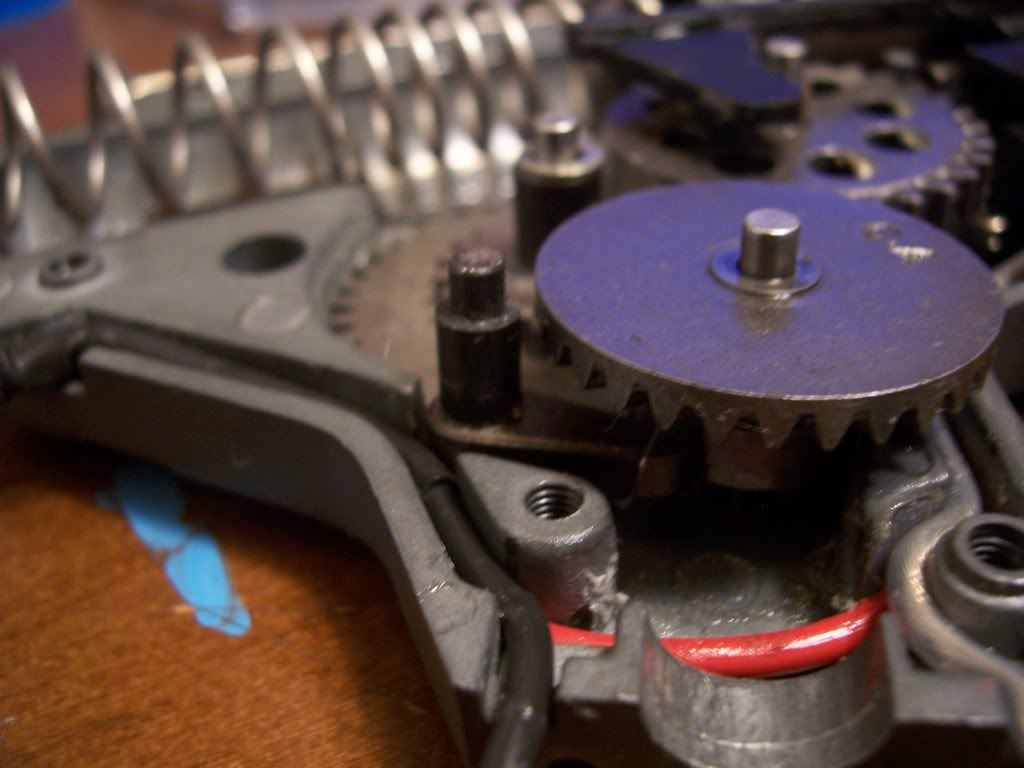
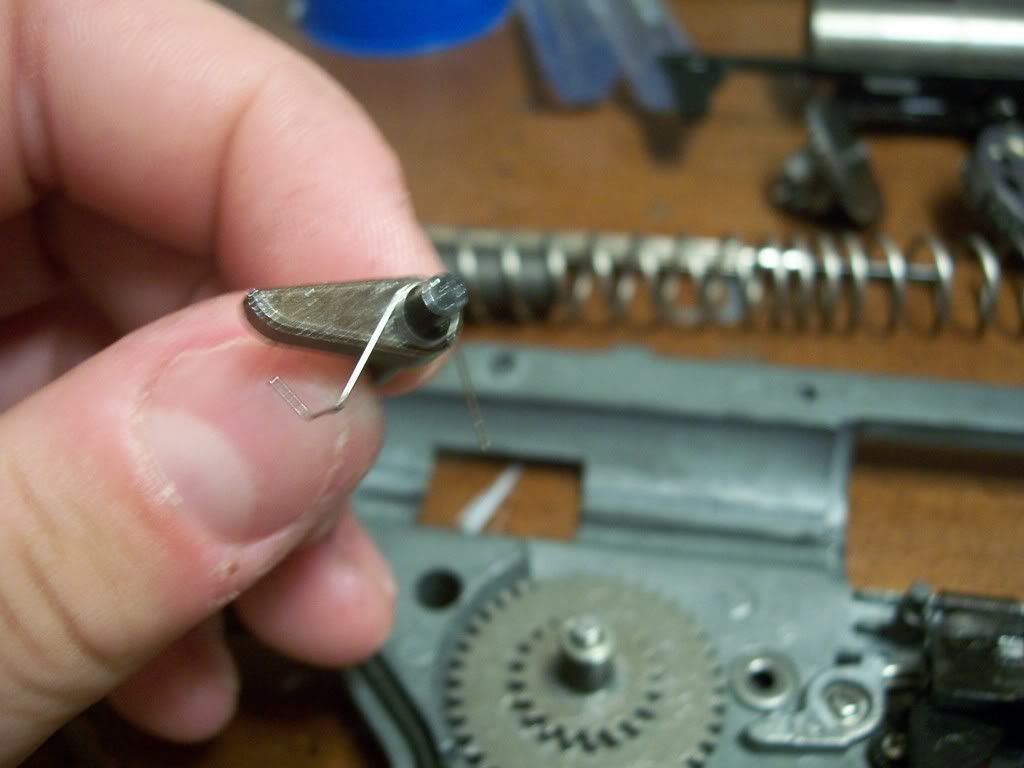
For this its just a matter of going backwards but I have Photos of Correct gear Timing:
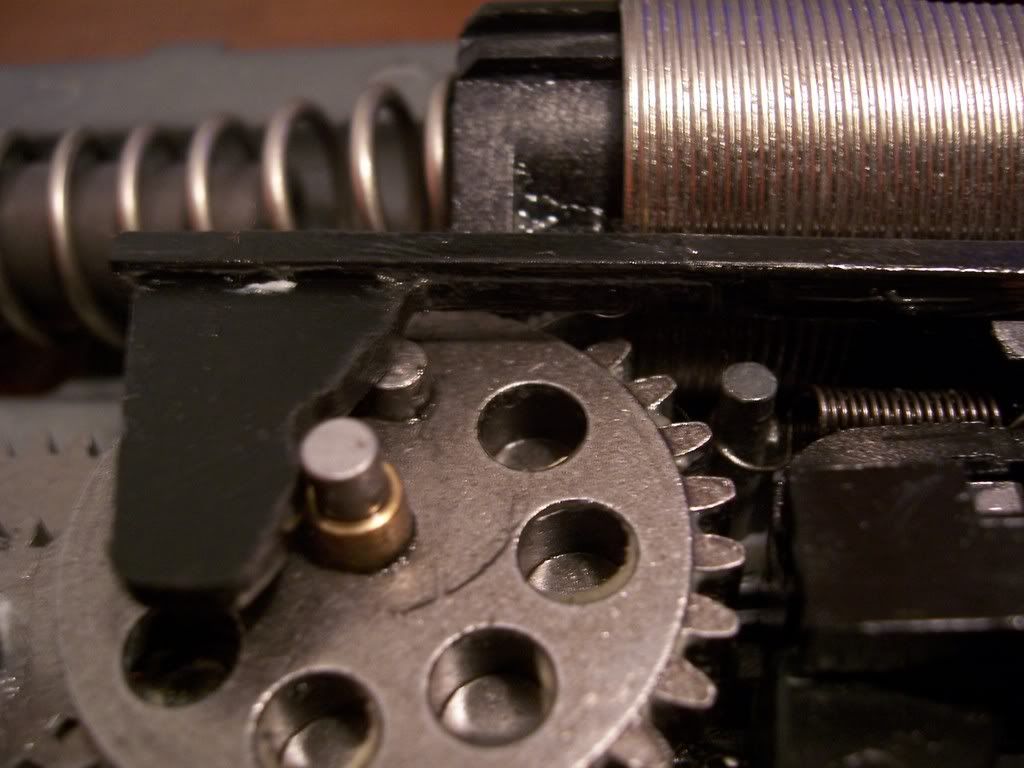
for this you want the gears first tooth to be above the tappet plate like so It is also very important to make sure your gearbox should look something like this before you close it:
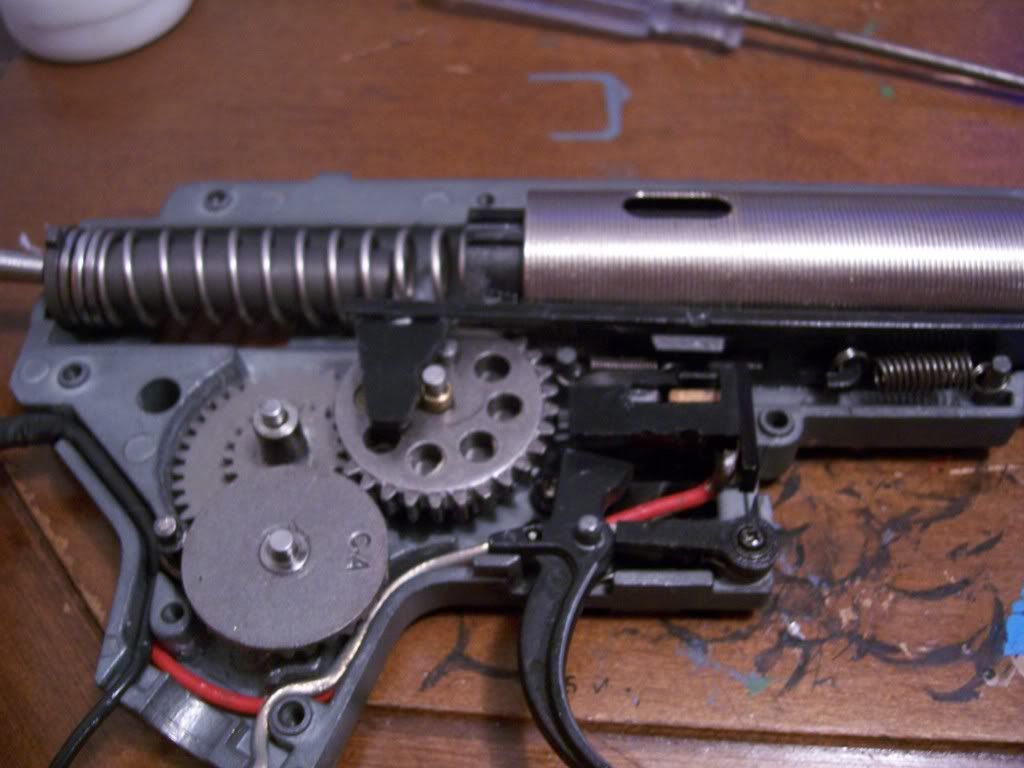
after that its just holding everything in place(beware occasionally the Springs for the anti reversal latch and trigger(may just be my gearbox) can come out and force you to re insert them. but once its all together I use the picks I mentioned earlier(craftsman ones) to align the gears so it all closes correctly.
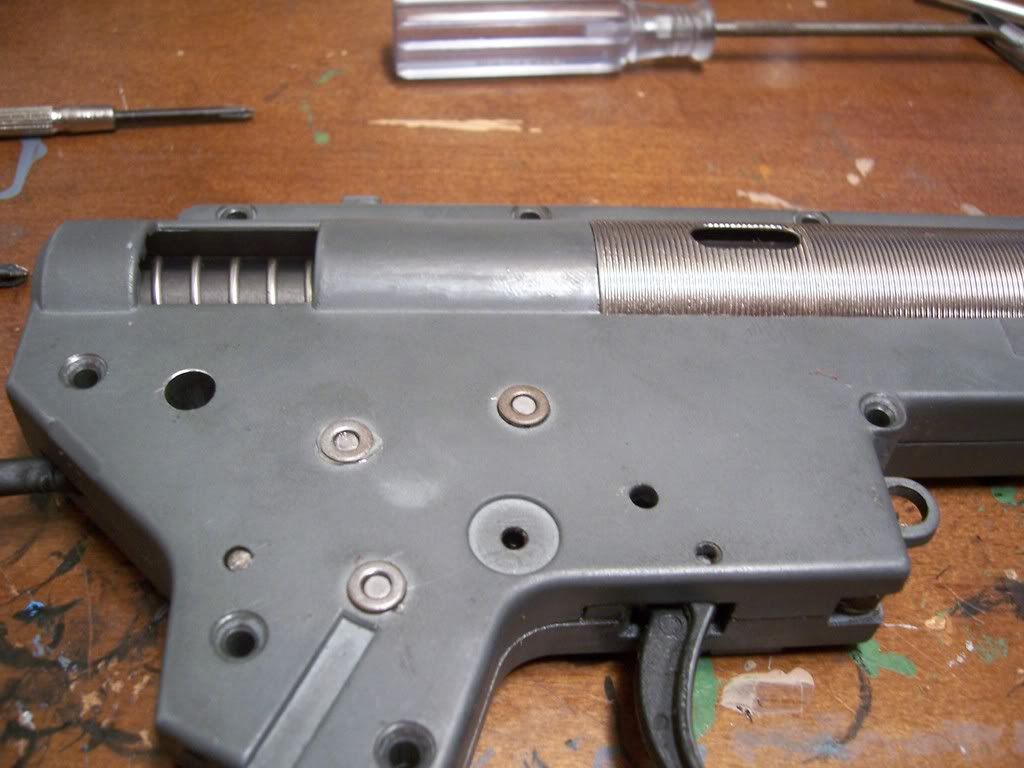
now just insert the screws as you took them out:
Just for reference the larger(longer ones are at the bottom, short ones at the top), idk if this applies to TM but I heard that the screws are unique so remember where you took them out and put them back in the right hole). and now its just the simple matter of tightening the screws. don't over tighten and if they don't go in correctly make sure nothing is in the hole.
And That's it, as for upgrades its a matter of just replacing them with the stock one, Gears and bushings require Re-shimming before you can use it.
[SIZE=6]Thanks For Reading

 DEFCON 5 Airsoft Forum
> Upgrades and Modifications > Gun and Gearbox Dissassembly Guides
DEFCON 5 Airsoft Forum
> Upgrades and Modifications > Gun and Gearbox Dissassembly Guides M4/M16 V2 Gearbox Disassembly (Complete)
 I don't have a picture of it as of now)